Showing posts with label tgiff. Show all posts

Friday, June 16, 2017

Making a tiny bit of progress, better than none at all.


This time of year the 3 quilts on our bed has dwindled to just one. I still like this quilt, I made it over 15 years ago. I date things by where we were living and we were still in Salt Lake when it was made. I use it quite a bit. I do rotate what quilts are on the bed and this one is there frequently.
My Bed
It is starting to show some wear. I made this using my Dice N' Splice technique.
Repair needed
There are several sections that look like the photograph above. Nice thing is that it is an easy repair. Stupid thing is I don't think about it except when I am under the quilt and this is in my face.
Binding issue
There is one small section of the binding coming loose. Again, a very simple repair.  Just need to think of it during the day and not after I get into bed.
Bunny by Grandma
In the late 80's and early 90's my parents were living in Friday Harbor, Washington. A friend of hers had a pattern for the bunny and my mother made one for each of the grandchildren. I believe this is the only one left. It was made for my son who just turned 35!

Charlotte
Why does blogger rotate my photographs? UGH! Anyway this is Charlotte. When we were getting our house in Salt Lake ready to put on the market, I found an old doll crib that my dad had made for me when I was very young. My daughters were then young adults and it had been stashed away to store. I had told my walking buddy, Sandy, about the crib and how I was disappointed that I did not have a single doll from my child hood. So a few weeks later she shows up to my door to go walking and from behind her back she pulls out Charlotte! She made me a doll for my crib!  The doll crib has been passed on to my granddaughter.

Sheep
A good friend was teaching a class on this sheep doll. I thought it was fun! The "sheepskin" is batting.
July
August
October
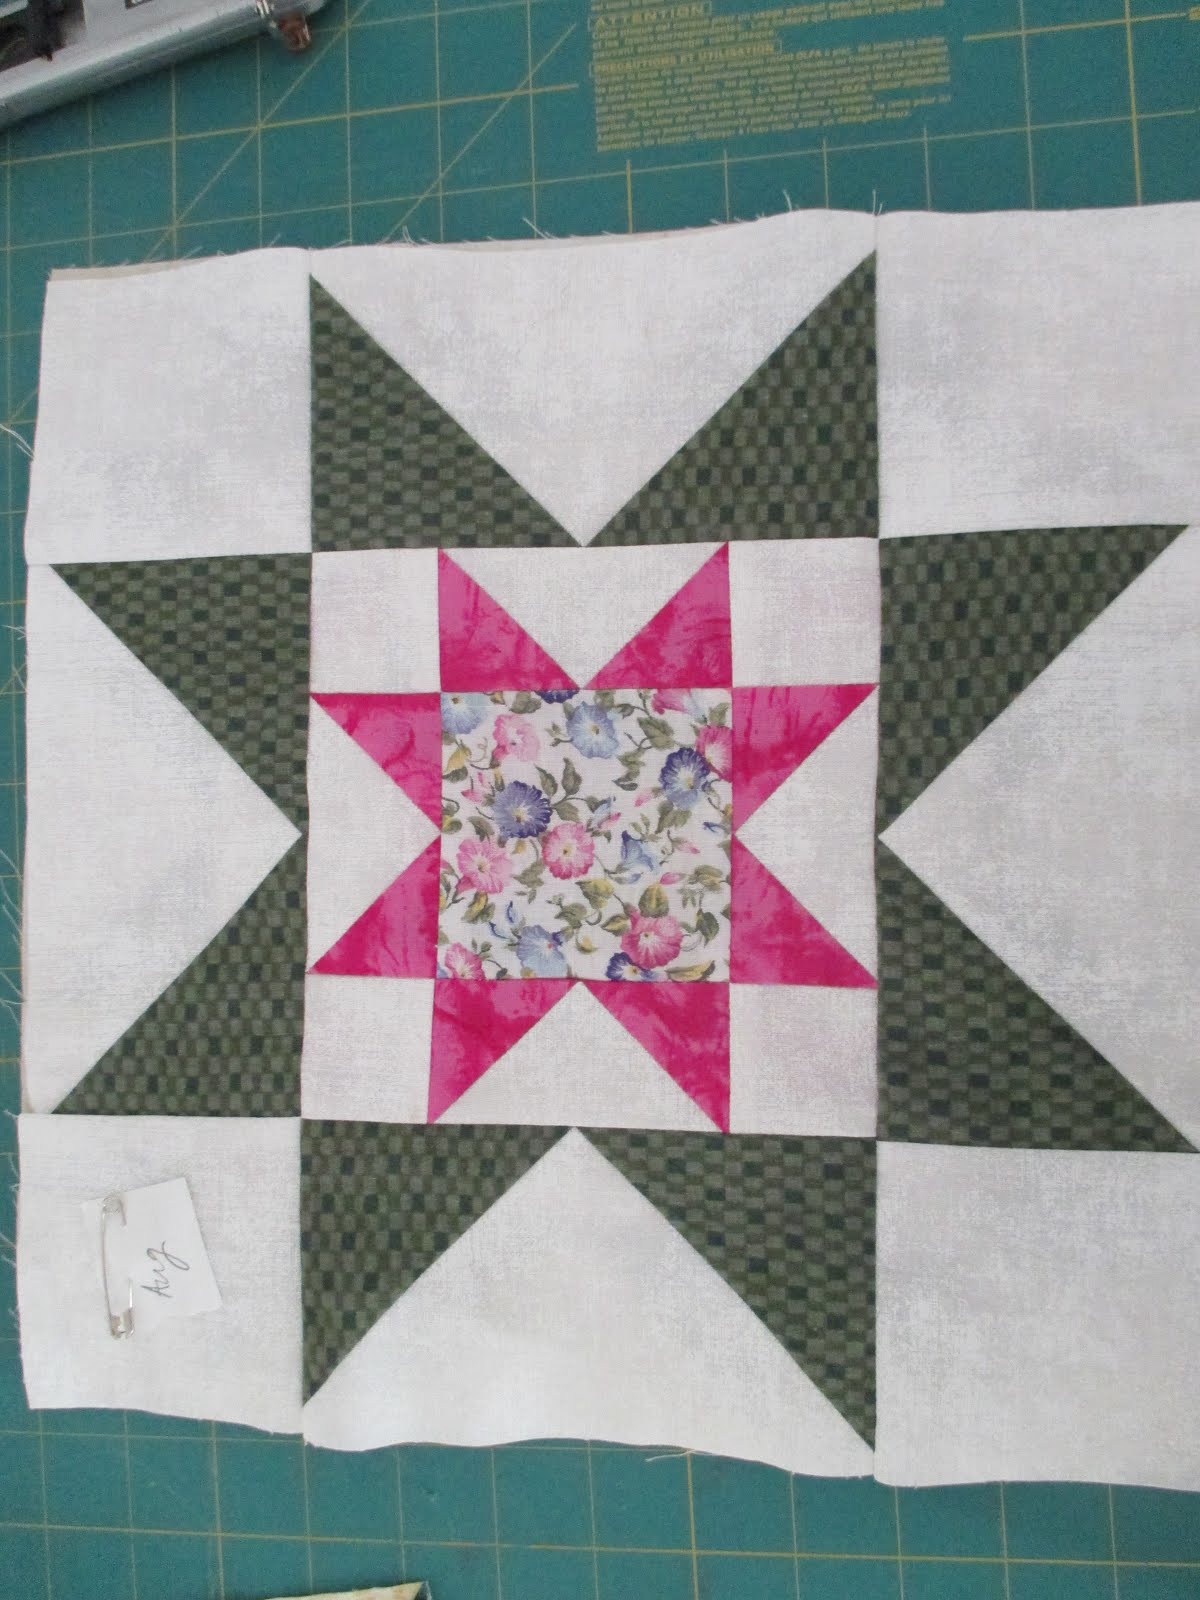
Still working on my block of the month samples. I did skip September because the floral I had out worked better for the October block. Just trying to get ahead of the game. There is no guild meeting in July, conflicts with the 4th of July, so I am caught up for the August meeting.


Friday, September 2, 2016

September

I did one last dye session last week. As we are in the midst of a  move, I had some leftover dyes that I wanted to use up before the final load. I do know that old dyes lose some of their umph, but sometimes that is a good thing. And I just didn't want to waste it, dyes are expensive.
Mop rag
I always put down a damp soda ashed piece of fabric when mixing my dyes to catch any stray powder. I reuse it several times and then use it to dump the dregs.  I am pleased with this one!
Forest green and yellow
I was surprised how the green looks more blue.I believe that the dye had degraded and the blue held on in the forest green. This was accordion folded and then I poured on the dyes in a ziplock bag.
Purple and yellow twist
If I were a few years older, I could have been a hippie! I love the look of tie dye. This piece was twisted and then tied in a knot before adding the dyes. The deep purple dye also degraded.
Blues dry folded
I used a piece of fabric that had previously been soda ashed and left to dry. I bi folded it and dumped on cobalt, navy blue, and the last of the deep purple.  I think this guy has possibilities of some surface design.
Blue and brown dry 
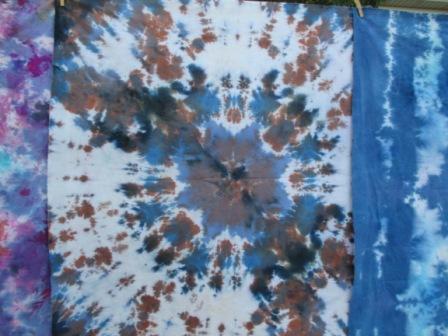
Another tie dyed look. I folded this piece like you do for Hawaiian applique. I then dumped the dyes on it, in a ziplock bag. Some little bits of black, terracotta and blue (cobalt, maybe?)
Brown and gold dry folded
I folded this accordion style and then accordion folded it in the second direction.  Not sure if you can see it in this photograph, but I had dripped a bit of the deep purple on it by accident. It is about the only spot in the dye session that the purple turned out purple! Terracotta and gold. Maybe it was actually deep yellow.
Another mop rag
Another mop rag.  I also use them to wipe up the table after the dye session (I have the table covered with a plastic table cloth while dyeing)
Stacked
I finally finished stacked! I took this class at the Bryce Winter retreat, eh? 4 years ago?  My friend, Lisa B. taught it. It was fun!  She is teaching it again this year at the Utah Quilt Guild Quilt Fest in a couple of weeks. I wanted to have it finished so she could have another class sample.
Stacked closeup
So things are happening with our move and hopefully we will be home (200 miles away) in 3 weeks. Right before Quilt Fest! I will head North to the Fest and sweetie and the puppy dogs will head South to our home in Kanab. It has been a long, stressful move.  I will be glad to finally be settled and move on to the next adventure in our lives.


I am linking to BethAmanda Jean, Nina-Marie, Sarah, M-RLorna, Myra, Emily,  Beth Judy

Friday, February 26, 2016

Two months into the year? Already?

It is hard to believe that it is already the end of February!  Where did the year go?  We did score a beautiful granddaughter on my Dad's 84th birthday a month ago! Best present you could give to a great grandfather! He was tickled pink! :)

I have challenged a group of my fiber art friends to do a Sweet Sixteen project. Since it is Sweet Sixteen this year (2016) I thought it would be fun!  Feel free to join in if you are interested.  Leave me a comment (make sure that you are not set to no-reply) The rules are simple.  Make something (fiber arty) that has 16 in it. It could be one piece that has sixteen fabrics, a shawl with sixteen sections, sixteen art quilts, 16"x16", etc. Whatever says Sweet Sixteen to you! Due December 31, 2016.  My theme is that I am doing a monthly piece that is 16"x 16". Each month will be focused on a color. I combined it with my Quilt Keepers challenge, using the orange batik as my pebbles.

Original idea


Final version
I am into peace signs. Always have been. Right now I think that the more you put peace out there, the more it will become so. At least I would hope so. Peace, pass it on. I wanted to do some more with the idea of mosaics, so I fused the batik and then hand cut out pebbles.  I was going to arrange the pebbles in a double row, but felt it looked too clumpy. I fused the pebbles to the black background. I free motion quilted to outline the pebbles and then filled in the background with peace signs.

Just before the binding
back
The quilting shows up better on the back. I have a design in mind for my February piece, but have not had a chance to get it started. I hope to show it off next week.

I have been preparing for Pie Plate Patterns Super Spring Retreat. They are a mother/daughter design team who live in a small town 15 miles Northwest of my small town. It is a fun retreat! A nice thing for them to do for the local quilting community. And bonus! This year it is opening on my birthday!  

I have relisted my patterns for sale on Craftsy. I am not set up to handle VAT, so if you are in the EU and wish to purchase a pattern, please do so at my Etsy shop, they handle VAT on instant download patterns. Thank you.

We were down in Kanab last weekend and there was a Hot Air Balloon Fest.  What fun!  I have never seen balloons up close while they are filling and launching.  I would never go up in one, I have a fear of heights, but it was exciting to see all the bright colors floating near the red rock cliffs.

Looks like fun!
Heading out over the valley
My favorite, Smokey the Bear!
Lifting off

This is my off the wall, and Finished Friday post for this week.


Friday, December 11, 2015

Finally finished a project that should have been years ago

Years ago I conned,er um, talked a group of friends into a 12 x12 project. We each chose one word and then every other month I drew one out and everyone was supposed to make a 12 x12 art quilt piece inspired by that word. More friends wanted to join in. Others dropped out. I believe that only about 3 of us completed all of the words. I myself was missing 3 or 4 words. Recently I was thinking that I should go back and complete the set.  The last couple of years I have been in a knitting group with a couple of women in a neighboring town. We meet for coffee and chatting every couple of weeks. 

One of my missed words was Joy. Well, one of my coffee/knitting buddies is named Joy! Both she and Karen spin yarn. Joy has been spinning for a long time and it is a joy to her. Since her birthday is this week I decided to do a 12x12 in her honor. Joy's Joy.


Joy spinning on her wheel
I took photographs of Joy and Karen spinning one meeting. I am looking to get a wheel some day and it was a good excuse to ask questions and compare their wheels. While at the same time getting a photograph to base my quilt on.


It is all about the twist
In spinning, it is all about the twist! So I quilted twist into the background.

My pattern
I printed out the photograph in black and white. Then I traced the outline of the wheel. I fused some fabric and used the outline to cut out the shape of the wheel.

The spinning wheel
I used stitching lines to enhance the shape of the wheel.

Joy's Joy
I used a bit of my own yarn that I had spun on a spindle to put on the bobbin. I left a tail of fiber and then quilted Joy into the background. Karen's husband is a wonderful woodworker and made a hanging stick to go along with it. Joy was so surprised when she saw this!

I know that I still need to do Frog and Road.  I need to double check my list and see what others I am missing.

I am linking to Off the wall, TGIFF, and Finished Friday.


Friday, September 27, 2013

Freezing Friday

First snow of the season!
Last night was cold and rainy.  And snowy up the mountain.  Note the snow line.  We covered our raised vegetable beds, the blue tarp, hoping to get one more harvest from the tomatoes.  Since my flowers in the pots on the patio didn't freeze, I think we escaped the hard freeze.


Last week I posted the results from the Wales group's lime green fabric challenge. I had someone ask how I made my piece.  I took in progress photographs so will share the process here.

Bottom shadow
I sewed the dark blue strip to the leaf print.  I still have a bit of my favorite navy blue Moda Marble fabric.  I love the texture in the print.  It gives more oomph to a design than a flat solid.  Right now working with solids is "in".  My opinion, so feel free to have your own ideas about this, but I don't like to use plain solids unless it is black or white for backgrounds unless I am doing all solids.

Free form cuts
I wanted to have nesting curves, so I free form cut my pieces out.  I should have cut the curves tighter, they smoothed out  more than I wanted for the final version.

Side shadows
I added side shadows to each piece. I used a bias strip thinking that it would work better with the curves.  Eh, didn't really work that way.

Adding in the background
I layered the curved pieces on top of the background and then cut the background with the same curve. Then sewed the two piece, cut the next side and so on.  On issue was that I need to make sure that the lines of the bottom shadows matched.  After I had all 4 pieces sewn into the background, I trimmed the top and bottom and sewed on the border.

Top completed
The finished top.  One thing that I did do, which is unusual for me, I made sure that the background print was facing the same direction in all of the piecing.  The print is directional, but it is very subtle.  Normally I would just whack away at it, but this time I was trying to be more grown up about it.  I wonder if it would look any different if I had used the background in any direction?


Finished piece!
I quilted it using my trusty walking foot.  I am happy with the way it turned out!  I would have like the curves in the pieces to be more curvy, but it was a good learning experience.

Close up of the quilting

This is my Off the Wall post for the week.  Check out what everyone else is up to at Nina-Marie's blog.

And since I have a finished piece I am linking to TGIFF and Link a Finish Friday!


Also, check back on October 1st!  I am participating in a blog hop and it should be a lot of fun!


Wednesday, December 12, 2012

12-12-12

"Peaceful Woods"

Close up of paws

Aspen and pine
A couple of weeks ago Karen Musgrave put out a call for a 12-12-12 challenge.  Perfect, that is the date of my friend Karen E's birthday!  I will make a 12"x 12" art quilt for her birthday!  I wanted to do something that is meaningful to her and not go with the number 12 for inspiration.

My first thought was to do a collage.  Something with a forest theme.  So I pulled all kinds of brown and green fabrics.
The palette
Then I started to build the piece.  Somehow it turned into a landscape instead of a collage.
Building the foreground

Trees trunks in place
I was so involved in the process that I spaced out taking more in progress photos.   Once I had the background in place I did some quilting along with stitching down the foreground.
Little bits of fabrics for the pines and aspens
I knew that I wanted to use little bits to make the pine needles and the Aspen leaves.  To keep it all in place I put a layer of netting over it.  Then I quilted to define the pines and aspen leaves.

A layer of netting
I ran into an issue.  The netting wasn't secured down in most of the places and something seemed to be missing from the details.  I did some loose quilting in the backgrounds to hold down the netting.  On a whim, I used some black thread and went around the details such as the rocks and tree trunks.  I also did some gold thread in the aspen leaves to give the illusion of "quaking".   Much better.

Ready to trim
I had started with a larger piece thinking it would shrink down more.  I had to cut off some of the trees on either side.

I used a piece of fabric that looked like wood grain for the binding.  And then I added some dragonfly charms.  Karen uses dragonflies on her business cards and logo.  

I delivered the gift to her this morning.  She loved it.  She had tears in her eyes.  I knew that I got it right.  The 3 paw prints in the piece represent her 3 beautiful German Shepherd dogs.  Two of them passed away this year, one just 2 weeks ago.  I knew that she had a yours and mine family and wasn't sure of how many kids there were.  I had intended on adding 6 dragonfly charms and somehow ended up with 7.  Which is how many children they raised together. And the woods is to represent the forest just up the mountain from where we both live.  With pine, Aspen, wildflowers and rocks everywhere. I used some gold thread in the background to represent the shimmer in the woods on a sunny day.

My finished photo didn't quite turn out as well as I would have liked.  Karen is going to try and take a better photograph tomorrow.

This is my Off the Wall post for this week.  Check out what everyone else is doing at Nina-Marie's blog. And also my TGIFF!