|
| Fabric selection |
 |
| Making 9 patches |
 |
| Cool Lion print |
 |
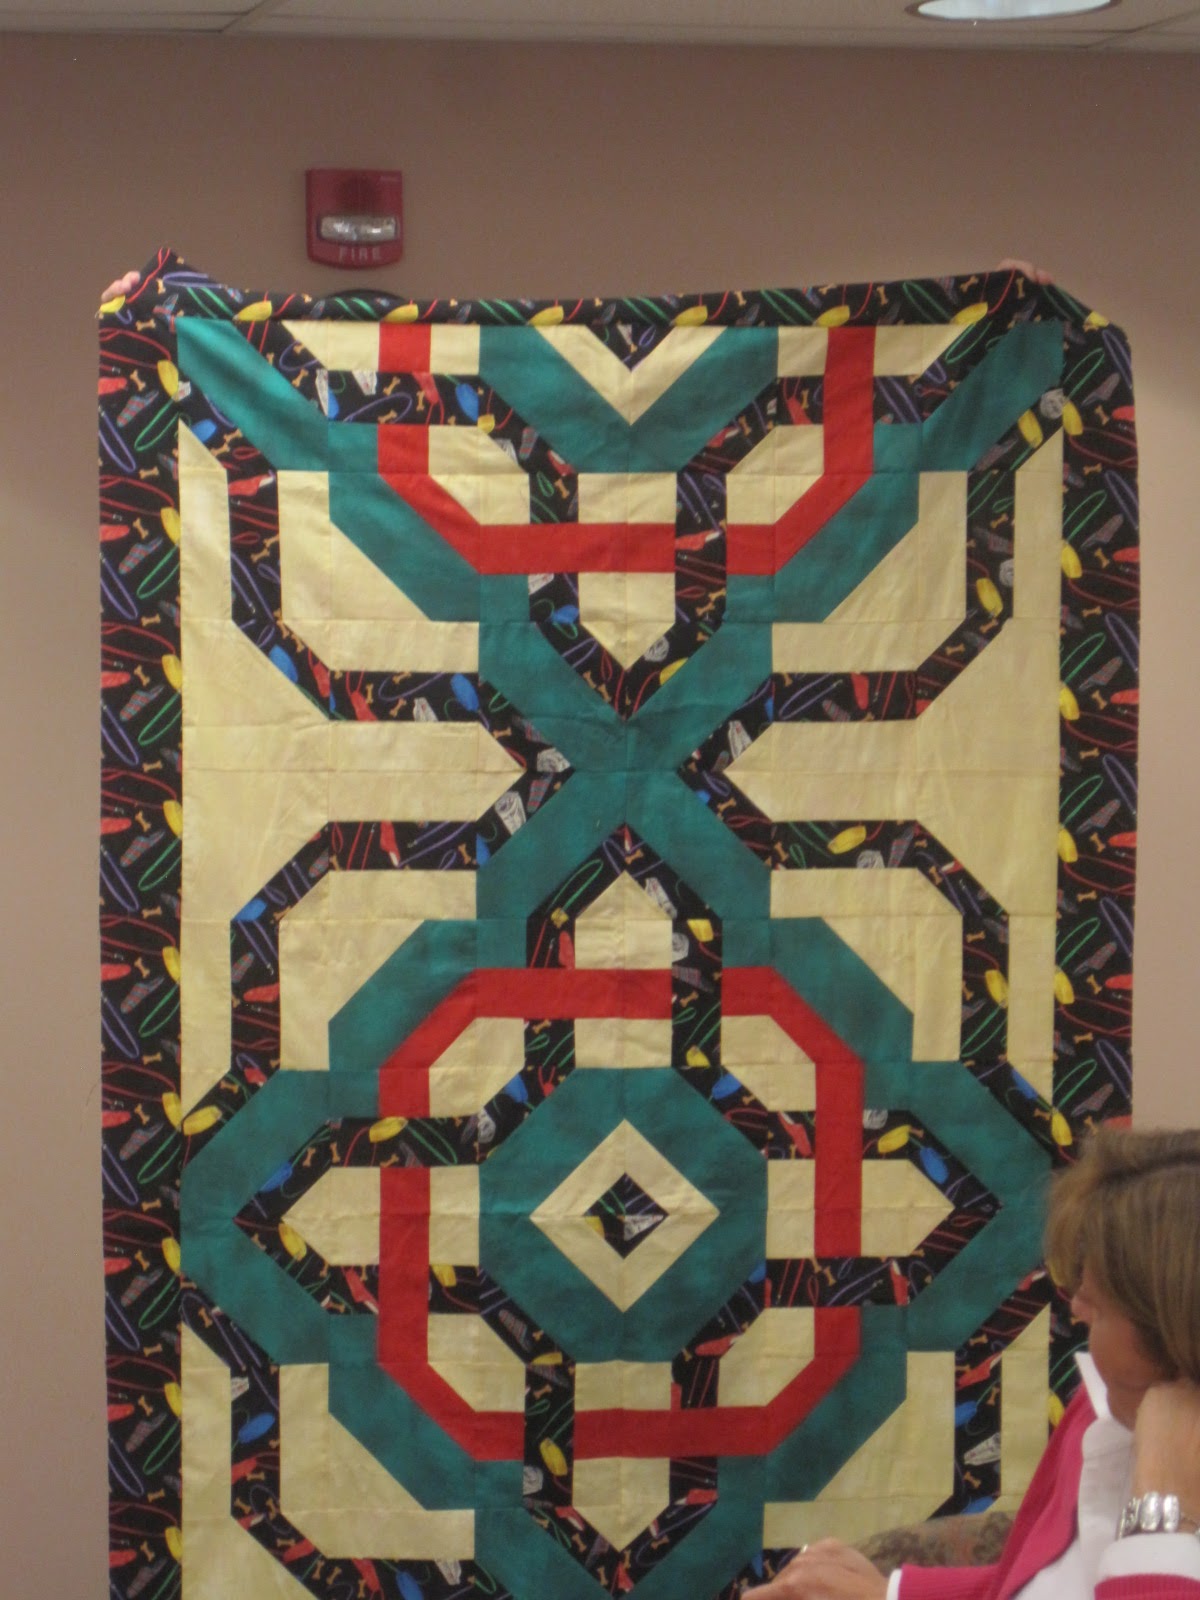
| The quilt top |
 |
| EQ7 drawing |
Our son and his wife are expecting their second child. Another boy. He is scheduled to arrive on Monday. When they were expecting the first "Most Beautiful Baby Boy in the World" I had the baby quilt finished even before we found out it was going to be a boy. This time I am pushing the deadline. I don't know why I haven't gotten this project going sooner. I didn't have a real good vision for it. But really, it is just a drag around, use it up kind of quilt so it really shouldn't be such a big deal.
A month or so ago I was in the small little quilt shop in town. I found a really cute flannel print with giraffes. I bought a yard. I figured it would be perfect for the backing and a yard x width of fabric is just the size for a newborn. Well, that piece of fabric sat around my sewing space since. I couldn't decide what to do with the front of the quilt. On Tuesday I had some errands to do and stopped at Kent's (the grocery store) and across the parking lot is the quilt shop. I headed in there, mainly for ideas. I am looking around the flannels and then I saw the lion print. Oh, that would be so cute! So I bought 3/4 yard of that one, another 3/4 yard of the giraffes and then a 3/4 yard cut of another cute giraffe print. I found a nice rusty brown for the binding and bought 1/2 yard. Ok. I am set.
Or am I? What do I do with these fabrics? Cut a bunch of 6 inch squares and toss them all together? Fussy cut the lions and the add logs of giraffes? Ok, how about my favorite the 9 patch. I calculated that if I cut binding strips 2" I would need 5 of them and then I would have enough of the binding fabric left to use in some of the blocks. I decided to make it the middle square. With the 2 giraffe fabrics as the corners and sides I make strip sets, cut, sew them back together and have 11 blocks. I could have had 12, but one of the fabrics (the binding) was a good 2-1/2" shorter than the others. I had decided to just cut the lions into 9-1/2" squares. The print would have been hard to fussy cut. But because I only had 3/4 of a yard (27") minus shrinkage and straightening the edge, I could only get 8 lion squares out of that piece of fabric.
I laid out the blocks and it just wasn't quite there. I decided I needed to add some more plain squares. I had enough of the second giraffe print to cut out four 9-1/2" squares. I played with the layout some more and put 3 of the giraffes in the center and all the lions to the outside alternated with the 9 patches. It is a bit off center, but if I tried to make it one row wider the backing would no longer fit. As it was, I used the last bit of lion sewn to the original yard of giraffes plus the extra of the 3/4 yard to make the backing large enough. Whew. Tomorrow I will pin baste and get it quilted, and work on the binding in the evening. Now hopefully my DIL doesn't go into labor before Sunday and I will be set.
I really liked the layout of the blocks, but I wanted to see how they would look with the extra row so I drew it up in EQ.
That is how I work. I sort of have an idea, buy some fabric or raid the stash, start cutting and sewing and then try to figure out the math. Usually I have to change plan because I don't have enough of something to make it work the way I thought it would go.
My Off the Wall post for this week, check out what everyone else is doing at
Nina-Marie's blog.